
REVIEW · WORKSHOPS
Tokyo: Gameboy Mod Workshop at Akihabara
The best part of this Akihabara workshop is that you do not just buy a retro Game Boy, you take one apart and rebuild it yourself. In about two hours, you learn how Nintendo’s handheld changed gaming, choose your own colors and parts, and leave with a working console that carries your fingerprints in every design choice.
I like the small class size, limited to four people, because you can ask questions without waiting for a crowded instructor. I also like the mix of old and new: you work with the familiar DMG-01 shape while choosing modern parts such as an improved backlit screen. The main drawback is the $360 price, which is a serious spend for a handheld console, even when the workshop and personal guidance are included.
In This Review
- Key points to know before booking
- Why this Game Boy workshop works so well in Akihabara
- The opening lesson: from Nintendo handhelds to the DMG-01
- Choosing your shell, buttons, screen, and smaller details
- Taking apart a classic Game Boy without fear
- Rebuilding the console with updated parts
- Testing your new handheld before you leave
- What the $360 price really covers
- Who will enjoy this most
- Making the most of your two hours in Akihabara
- Booking, cancellation, and access details
- Should you book the Game Boy mod workshop?
- FAQ
- Where is the Game Boy mod workshop located?
- How much does the workshop cost?
- How long does the activity last?
- What type of Game Boy do I build?
- What can I customize?
- Do I need electronics or Game Boy experience?
- What languages are available?
- How many people can join a group?
- Is the workshop wheelchair accessible?
Key points to know before booking
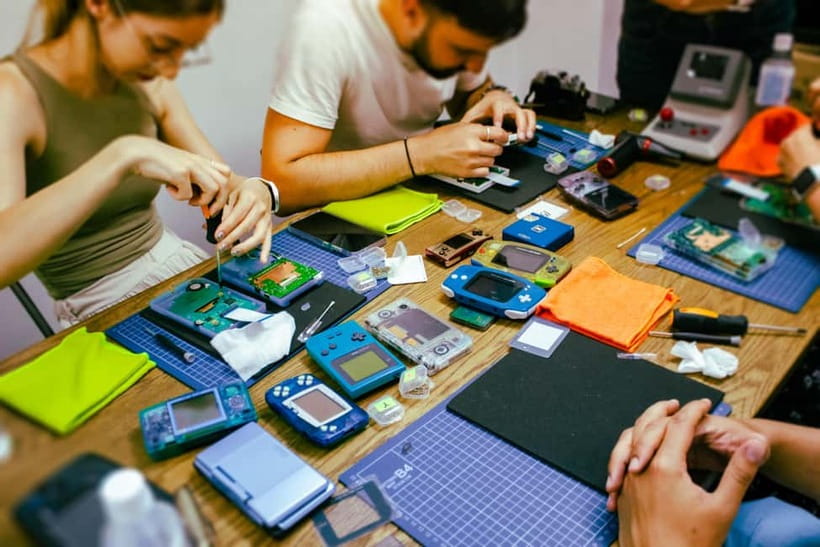
- Build a DMG-01 from the inside out: Take apart a classic Game Boy and rebuild it with guided help.
- Choose nearly every visible detail: Pick the case color, buttons, power switch, screen surround, and other supplied parts.
- Expect a short Nintendo history lesson: The session covers Game Boy development and the wider story of handheld gaming.
- Work in a group of no more than four: The compact format leaves room for patient, personal instruction.
- Play and shop for retro games afterward: A selection of Japanese and international cartridges is available, with additional games offered for purchase.
- Plan for stairs: The workshop is on the second floor of the Wakita Building, with no elevator or escalator.
Why this Game Boy workshop works so well in Akihabara
Akihabara is the natural setting for a project like this. Tokyo’s famous electronics and gaming district can easily become a parade of shops, bright signs, and collectible shelves. This workshop gives you something to do with your hands instead of simply browsing.
You are not being asked to solder a circuit board from scratch or arrive with repair skills. The activity is built for beginners, and the staff guide you through each stage. At the same time, people who already understand retro hardware have plenty to ask about. That range is important if you are booking as a family or with friends who have different levels of gaming experience.
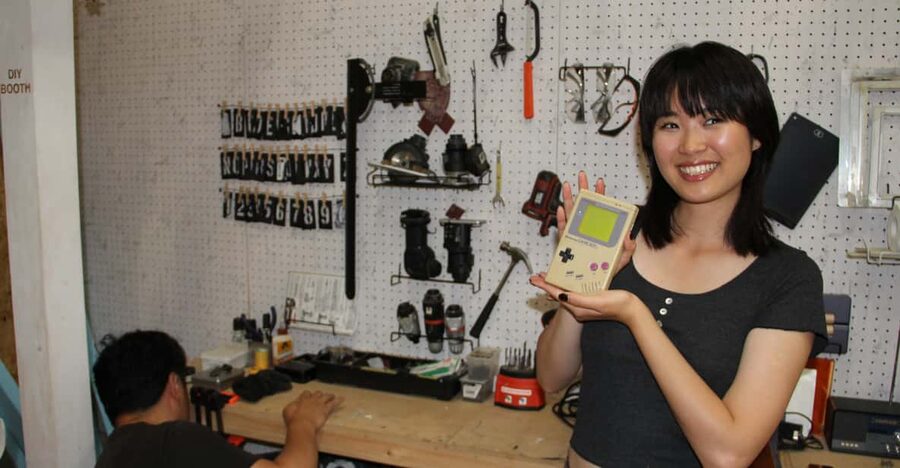
The finished console is more personal than a standard souvenir. A T-shirt or keychain tells you that you visited Tokyo. A Game Boy you selected, opened, customized, and tested reminds you of a specific afternoon in Akihabara. You can also use it, which gives the purchase more purpose than another item that sits in a suitcase.
A few more Tokyo trips to weigh up
- Sushi Making Tokyo Roll and Authentic Japanese Sushi Class
★ 5.0 · 3,971 reviews - Tokyo: Roll and Authentic Sushi Making Class in Asakusa
★ 4.9 · 1,957 reviews - Tokyo Shinjuku Chopsticks Making Class
★ 5.0 · 1,763 reviews
The opening lesson: from Nintendo handhelds to the DMG-01
The session begins with an introduction to the Game Boy and other portable consoles. The workshop team has physical examples on hand, so the history is not just a slide presentation. You can see the shapes and hardware that led to the original Game Boy and later Nintendo handhelds.
This opening section helps explain why the DMG-01 matters. The original Game Boy was simple by modern standards, with a monochrome display and limited power, but its design made portable gaming practical and durable. Hearing about its influence before handling the parts gives the building session more meaning.
The staff members, including Gabi, Franz, Shio-san, and Ro at different sessions, bring a clear enthusiasm for the subject. English and Japanese instruction is available. You can ask about the console’s technology, the different handheld generations, or the changes being made to your own unit.
The history portion is useful, but do not expect a full museum visit. The real focus is the hands-on work that follows. If you are mainly interested in Nintendo history and not in making something, the workshop may feel expensive for the presentation alone.
Choosing your shell, buttons, screen, and smaller details
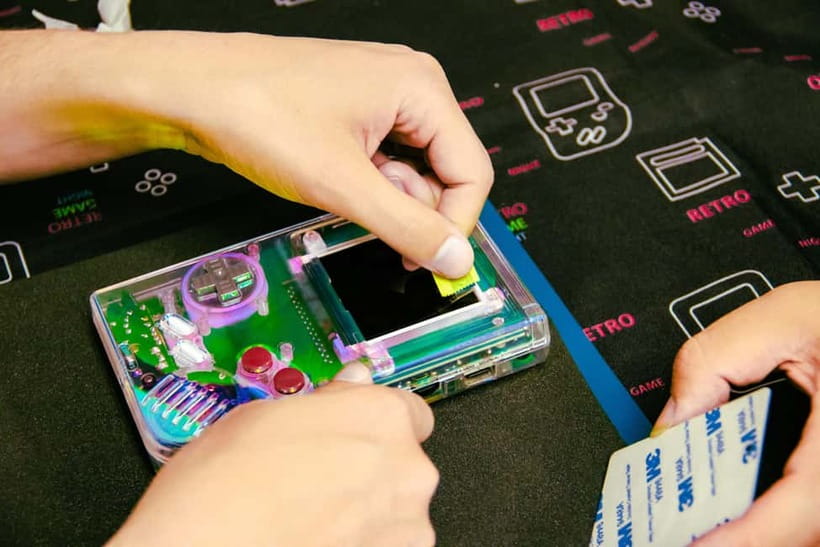
Once the introduction is finished, you choose the look of your Game Boy. This is where the workshop becomes personal. The supplied parts include different case colors, buttons, screen surrounds, power switches, and other visible pieces.
You can match everything in one color for a clean look, or mix colors for something more unusual. One participant created a special variant by combining different shades instead of using a standard matching set. That option matters because your console does not have to look like a factory model.
The selection process may take longer than you expect. There are enough combinations to make the choice feel real, so do not rush to the first color you notice. If you are buying this as a gift, think about the recipient’s favorite games, colors, or Nintendo era before arriving.
The workshop provides the parts needed for the activity, and the price includes expert guidance. You are not asked to hunt through Akihabara shops for a shell or bring your own broken Game Boy. That makes the experience easier for first-time modders, though it also means your choices are limited to the available stock on the day.
Taking apart a classic Game Boy without fear
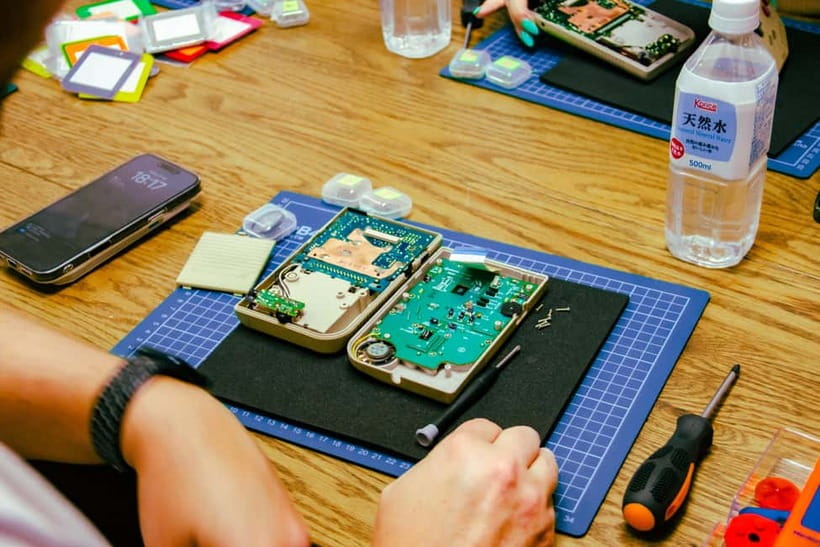
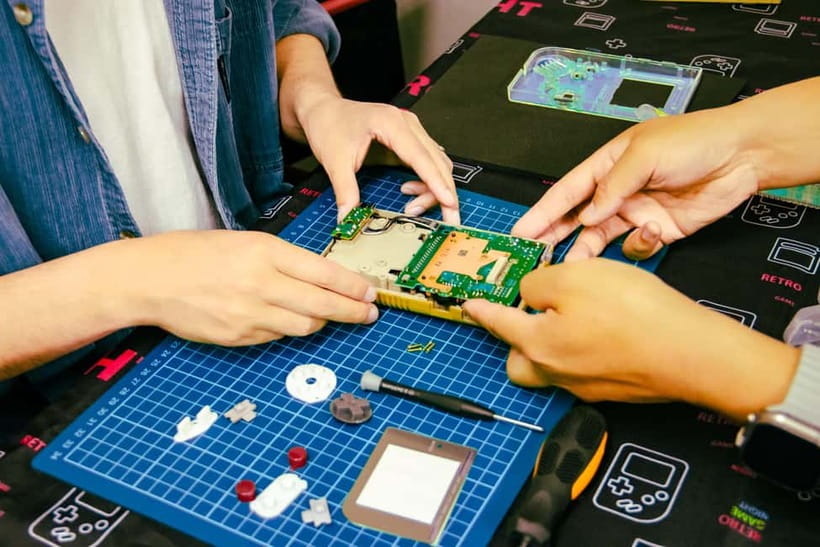
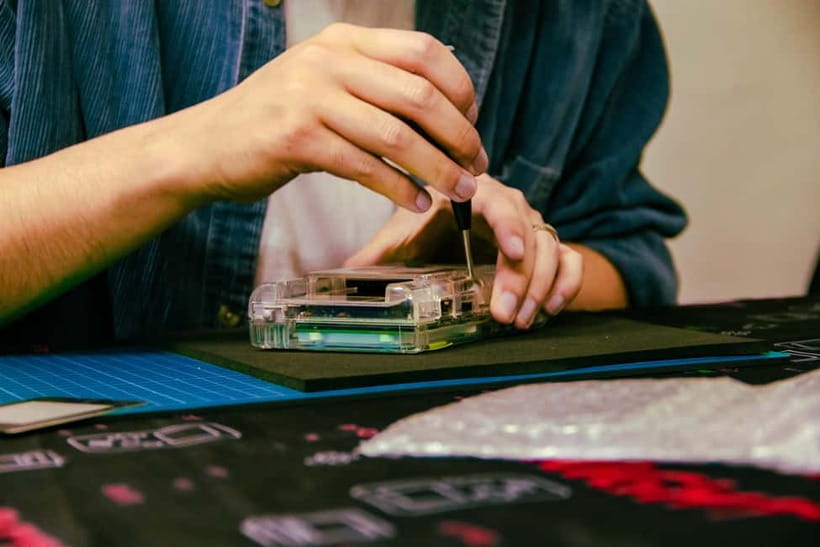
The next stage is the most satisfying for anyone who likes electronics. You open the Game Boy, separate the usable parts, and see how the old hardware fits together. The instructors explain what you are handling and step in when a task needs extra care.
You do not need previous Game Boy experience. The activity is designed so that beginners can follow along, and the instructors check each stage before you move forward. That patient approach is one of the strongest reasons to choose a small group rather than a large craft class.
For parents, this can be a good way to give an older child a real electronics project without leaving them alone with delicate hardware. A 13-year-old enjoyed working through the process with one-to-one help, while children aged 10 and 13 also took part successfully in another session. Adults can join the fun too, even if they have not touched a Game Boy since the 1990s.
You should still treat the parts carefully. This is a guided workshop, not a toy assembly line. If you prefer to watch rather than handle small components, tell the staff. The point is to participate, but the instructors are there to prevent a mistake from ruining the finished console.
Same city, a completely different kind of day:
- Mt Fuji and Hakone 1-Day Bus Tour Return by Bullet Train
★ 5.0 · 26,383 reviews - 1-Day Tokyo Bus Tour
★ 5.0 · 14,250 reviews - Tokyo: TOKYO SKYTREE® Admission ticket
★ 4.5 · 11,192 reviews - Tokyo: teamLab Planets TOKYO Digital Art Museum Entry Ticket
★ 4.6 · 9,779 reviews
Rebuilding the console with updated parts
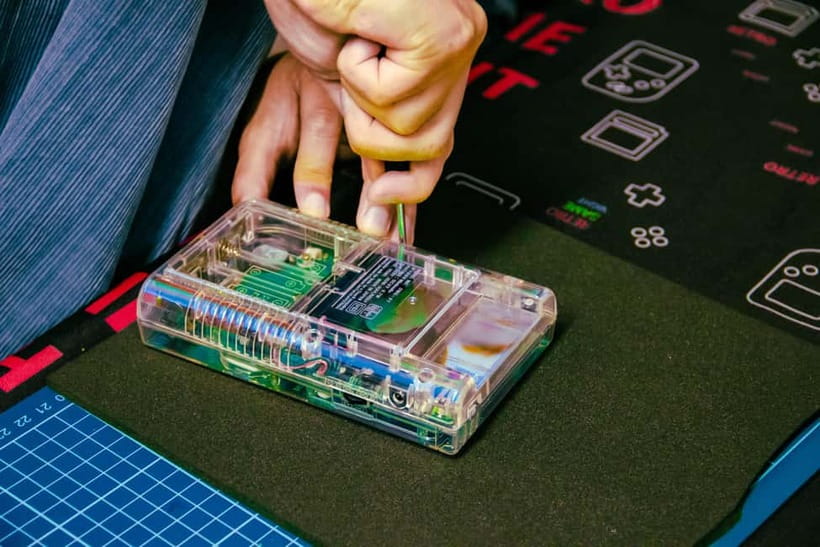
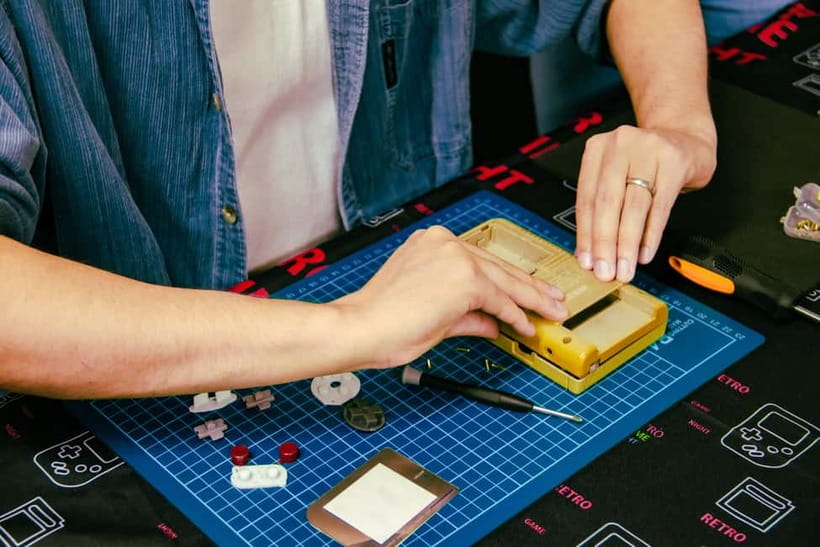
After disassembly, you put the handheld back together using the selected case and controls. The work combines reused original parts with new supporting materials and updated components. The exact choices depend on the parts available and the options you select.
The screen is a major attraction. Several participants specifically enjoyed leaving with an improved backlit display, a practical change over the original Game Boy screen. A backlit screen makes the console easier to use in different conditions and gives the old machine a more current feel while preserving its classic shape.
You also install the new buttons and case pieces, then check the controls and power. The staff do not simply hand you a pile of parts and walk away. They explain the process, watch for problems, and double-check the finished build.
This is where the two-hour schedule matters. You have enough time to make decisions and complete the build, but not enough time to drift into a full repair course. If you want to learn every technical detail of Game Boy modification, you may wish the session were longer. For a holiday activity, the compact format is easier to fit between Akihabara shops and other Tokyo plans.
Testing your new handheld before you leave
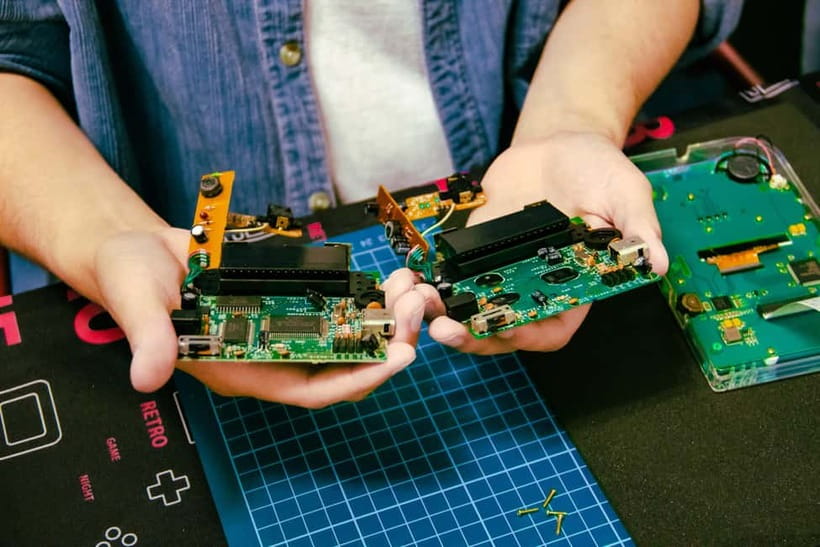
A working console is the payoff. Once your Game Boy is assembled, it is tested so you can leave with confidence that the buttons, screen, and power function properly. The staff can help if something needs attention.
You may be given a chance to choose a 1,000 yen game, and the workshop has boxes of additional cartridges available for purchase. The selection includes Japanese and international titles, with familiar classics such as Tetris, Mario, Kirby, and Dr. Mario available among the choices described by participants.
This is convenient if you want to play immediately. You do not need to spend another afternoon comparing cartridges across Akihabara, though you can still browse the district’s famous game shops afterward. One useful bit of shopping advice is to compare prices before buying elsewhere. Some games available at the workshop were found at lower prices than similar titles at Super Potato.
A protective case has also been provided in some sessions, making it easier to carry or display the finished Game Boy. Check the current inclusions when booking, since small extras can change.
What the $360 price really covers
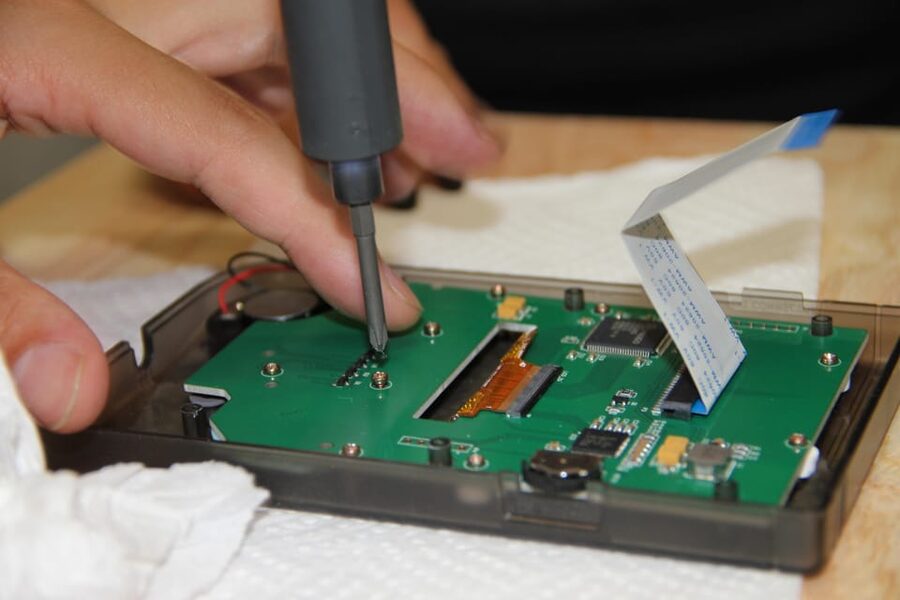
At $360 per person, this is not a budget activity. You can find used Game Boys for much less, and a standard console will not require two hours of instruction. If your only goal is to own a retro handheld, buying one from a shop may be the better deal.
The workshop price pays for more than the plastic shell. It includes the device, supplied modification parts, the practical session, admission, and guidance from multilingual staff. You also receive a personal activity, the chance to select the design, and a finished keepsake that you assembled yourself.
The value improves if you already planned to buy a Game Boy and several accessories in Tokyo. It can also be a strong choice for a birthday gift, anniversary activity, or family project. Two people can work on their own consoles while sharing the same session, which turns the cost into a joint memory rather than two separate purchases.
I would not book it casually if you are only mildly interested in Nintendo. The price requires genuine enthusiasm for retro games, electronics, design, or hands-on activities. For a serious Game Boy fan, the unusual combination of instruction and ownership makes the cost easier to defend.
Who will enjoy this most
You are a good match for this workshop if you:
- Grew up with a Game Boy and want a useful nostalgia trip
- Enjoy Nintendo, retro games, or handheld technology
- Like making choices and working with small parts
- Want a Tokyo souvenir that you can play at home
- Are booking for a child, teenager, partner, or parent who loves classic gaming
- Prefer a small activity with direct help rather than a large group tour
You do not need to be an electronics expert. The staff can explain the basics in English or Japanese, and the process is structured for newcomers. If you are traveling with a mixed group, non-participants may still be able to enjoy the history talk, play games, and watch the build, but confirm the arrangement when booking.
The workshop is less suitable for anyone who dislikes small mechanical tasks or wants a fast sightseeing stop. Two hours is a real commitment, and the activity requires attention. The second-floor location also means you must be comfortable using stairs.
Making the most of your two hours in Akihabara
Give yourself enough time to reach the Wakita Building and find the second-floor workshop. The meeting point is at the stated address, but do not expect a street-level storefront with a large tourist sign. Follow the address carefully.
Before the session, think about the design you want. A quick look at Game Boy color combinations online can help, but leave room to change your mind when you see the available parts. Mixing the case, buttons, and screen surround can produce a console that feels more like your own than a single-color build.
If you want to buy games, allow a little extra time after the workshop. The activity itself lasts two hours, and browsing the available cartridges can extend your visit. You can then continue into Akihabara’s larger shopping area, where you may find more titles but should compare prices.
The four-person limit is especially useful here. You can ask for help, listen to other people’s design ideas, and still have enough table space to work. Solo visitors fit comfortably into the format, while couples and families can share the experience without losing personal instruction.
Booking, cancellation, and access details
The activity costs $360 per person and lasts two hours. Starting times vary, so check availability for your date before building it into your Tokyo schedule.
You can reserve now and pay later, which helps if your plans are still shifting. Free cancellation is available up to 24 hours in advance for a full refund.
English and Japanese instruction is offered. The group is limited to four participants, a useful detail for anyone who wants close support during the assembly.
The workshop is on the second floor of the Wakita Building. There is no elevator or escalator, so it is not wheelchair accessible. Mention this limitation when deciding if the activity works for everyone in your party.
Should you book the Game Boy mod workshop?
I would book this if you want more than a souvenir and the idea of building your own playable Game Boy sounds exciting. The staff’s patient, friendly approach suits beginners, while the hardware discussion and customization choices give experienced fans plenty to enjoy.
I would skip it if you are looking for the cheapest way to buy a used console. At $360, the workshop is a premium purchase. You are paying for the guided activity, the parts, the finished handheld, and the memory of making it in Akihabara.
For a lifelong Nintendo fan, a family with a young gamer, or a couple looking for a hands-on Tokyo experience, this is a strong choice. You leave with a custom DMG-01, a few new technical skills, and a souvenir that does not simply remind you of Japan. It lets you keep playing.
FAQ
Where is the Game Boy mod workshop located?
The workshop is on the second floor of the Wakita Building in Akihabara, Tokyo. Follow the provided address to find the meeting point.
How much does the workshop cost?
The listed price is $360 per person.
How long does the activity last?
The workshop lasts two hours. Available starting times depend on the date you choose.
What type of Game Boy do I build?
You personalize a vintage DMG-01 Game Boy using supplied parts.
What can I customize?
You can choose the color, buttons, case parts, screen, screen surround, power switch, and other available components.
Do I need electronics or Game Boy experience?
No. The workshop is guided and suitable for beginners as well as people with more gaming or electronics experience.
What languages are available?
Instruction is available in English and Japanese.
How many people can join a group?
The activity is limited to four participants.
Is the workshop wheelchair accessible?
No. It is on the second floor, and the building has no elevator or escalator.
Just added around Tokyo
- Tokyo: Customizable Private Guided Walking Tour★ 4.5 · 129 reviews
- Private Harajuku Omotesando Architecture Tour★ 4.9 · 18 reviews
- Tokyo: Guided Helicopter Ride★ 4.9 · 24 reviews
- Tokyo: Guided Walking Tour of Tsukiji Market with Lunch★ 4.4 · 24 reviews
- Tokyo: Private Personalized Local Food Tour★ 4.5 · 101 reviews
- Tokyo GINZA: KONPARU Japanese Cabaret Show with Drink★ 4.8 · 38 reviews
- Tokyo: Guided Walking Tour of Tsukiji Market with Breakfast★ 4.4 · 134 reviews
- Tokyo: Gotokuji Cat Temple, Shinjuku Cat Cafe & 3D Cat Tour★ 4.9 · 38 reviews
Workshops, compared.
Sushi Making Tokyo Roll and Authentic Japanese Sushi Class
Read our review →
Roll and Authentic Sushi Making Class in Asakusa
Read our review →
Ramen Cooking Class at Ramen Factory in Kyoto
Read our review →
Sushi Making Class in a Happi Coat near a Famous Spot
Read our review →

Sushi Making Osaka Roll and Authentic Japanese Sushi Class
Read our review →
Tokyo Sushi Making Class in Tsukiji with Professional Chef
Read our review →Browse the lists this tour appears in